Showing posts with label DIY. Show all posts

Monday, May 21, 2012

Mother's Day Gifts

I know it's about a week late, but better late then never! 

This year not only did I get to have a dinner with my moms side, have a morning to sleep in and wake up to the best kids in the world yelling "Happy Mother's Day!", and attend brunch with my hubby's side of the fam, but I ALSO got super great gifts! I (of course) would be happy without, but these were too great not to share! 
Here is what I got from my hubby's family:bagLOVE the color scheme! I can't wait to use my new tote and rotate the necklace and sandals into rotation. So pretty!
From my hubby:
camera remote A wireless camera remote! I have been taking my own pictures via a tripod and timer for the past 14 month. I press the button, run into position and then repeat! If my hubby is home I have him take my photos, but I've wanted a remote for FOREVER now! Ask and you shall receive. ;) I can't wait to use this bad boy. 
And finally, my gift from my son:
rock gift
He made it as school and it came home wrapped with him. Since this was his first school year I did not know that they do this. IT IS AWESOME! Probably My favorite gift! I guess I'm a sucker for googlie eyes. My hubby could have saved a few bucks if he knew this before hand. ;)

Monday, January 2, 2012

Inspirational Tuesdays #95

That last photo is a fellow blogger & gorgeous dancer (Tiffany of Dancing Branflakes) -- check out more photos on her blog! That particular photo was taken by Tom.

All collected images were found randomly online. Click on image to view source.

Follow me on: Bloglovin' | Twitter | Facebook | Tumblr

Sunday, January 1, 2012

ABC Family/Jane by Design Style Challenge #6 - Pretzel-Inspired Designs

I hope everyone had a wonderful New Year's Eve, and I wish you all a blissful 2012! For my NYE, I spent it at my cousins' house with a feast of food & treats, chat, laughs, and my boyfriend even stopped by to ring in the New Year with us.

I planned to publish this post tomorrow, but I will be with my cousins on a shopping spree all day! So here it is now :) As you can see, here is the next ABC Family/Jane by Design challenge! (If you're just catching up, I'm one of the participants in this challenge & ABC Family/Jane by Design sent each of us a trunk full of goodies that are numbered, corresponding to the specific challenge, and we get sent an email twice a week letting us know what to do with it!)
Task #6: Find the bag of pretzels in your trunk. Get inspired and create something that will amaze me. Post a photo to your blog and write an entry explaining your design. Ask your readers to share ways in which they were inspired to make fashion out of unexpected items here and mention the name of your blog.

I was really drawn to the pretzel sticks and the snaps rather than the original shaped pretzel. I incorporated both into great jewelry pieces. First up, this pretzel grid necklace :)

Having limited resources, I simply used a black Sharpie and colored in the pretzel sticks after scraping some of the protruding salt. I used black thread and tied the three pieces together. Then, I simply just put the necklace chain through the two outside pieces.
With the sticks, it reminded me of spikes. I've been seeing this spiked cuff around lately, and well I thought, why not make my own? Like the pretzels from the necklace, I scraped off most of the salt and colored it black. Along with some white speckled branches I pasted it onto this tortoise cuff.

click images to enlarge

P.S. I have yet another exclusive clip from Jane by Design, which will premiere Jan 3!
______________________

Share with me & Jane by Design in what ways where YOU inspired to make fashion out of unexpected items are here & remember to mention Audrey Allure! Help me get to the end, and I'll be able to choose one of YOU as ABC Family's Trendsetter of the Week!

Follow me on: Bloglovin' | Twitter | Facebook | Tumblr

Sunday, December 25, 2011

ABC Family/Jane by Design Style Challenge - Ugly Xmas Vest Makeover

I've made it to the next round of the ABC Family/Jane by Design Style Challenge! Thank you all SO much for your support. I can't thank you enough! Anyway, Challenge #4 was quite difficult but I think I pulled it off well.

Task #4: "You must use every ounce of creativity you have to turn the holiday sweater into something special. Something spectacular. I don’t care if you use scissors or glue, your fat jeans or a slice of stale fruitcake. Turn that sweater into something fresh & exciting that could be the next big trend for Holiday 2012. When you think you’ve created something innovative and amazing, whether it’s a bracelet or a mini skirt, post before and after photos to your blog, along with a step-by-step description of how you came up with your creation. Ask your readers to share their own inspired creations here and mention the name of your blog."

I looked at the buttons and I thought the button idea would be a great idea for an opening for a small wallet. I've never made a wallet before so I basically winged the whole thing & below is my result.

1) I first took a small, basic wallet of my own (a two-fold), and used that as my measurement. I used the back of the Christmas vest & traced the wallet open there -- leaving about a half inch around the perimeter.
2) Using that pattern, I traced an identical rectangle.
3)
With the guiding of pins that held the two pieces together, I hand stitched one of the short sides. I then, stitched the bottom as well -- making sure you fold in the extra half inch in. (That way, the rough edges don't show.) I worked my way around & stitched the other short side. I tried making it more fun by using colored yarn.
4)
I measured the width of the wallet against the front of the vest where the buttons are and cut. [I know you can also take the buttons off and sew them onto the wallet itself & make the openings, but somehow this way was easier for me.]
5)
I sewed the bottom half of the strip (where the button holes are) onto one end of the width of wallet, and did the same with the button strip on the other end.
6) I closed the wallet and measured where it would fold, and pinned it.
7) Measuring cardboard, I used two small rectangles and inserted it between the fabric, one for each side of the fold.
8) Again following the guiding of the pins holding it in place, I stitched the middle, and then eventually closed it off on top. Having the cardboard inside made the wallet sturdier and less flimsy.
9) Still needing a pocket, I decided to go with the one pocket sideways. I measured the fabric on the vest as needed & cut.
10) I hand stitched the pocket on 3 sides of it, leaving a nice opening.
11) I finished it off by adding an"A" initial with fabric glitter.

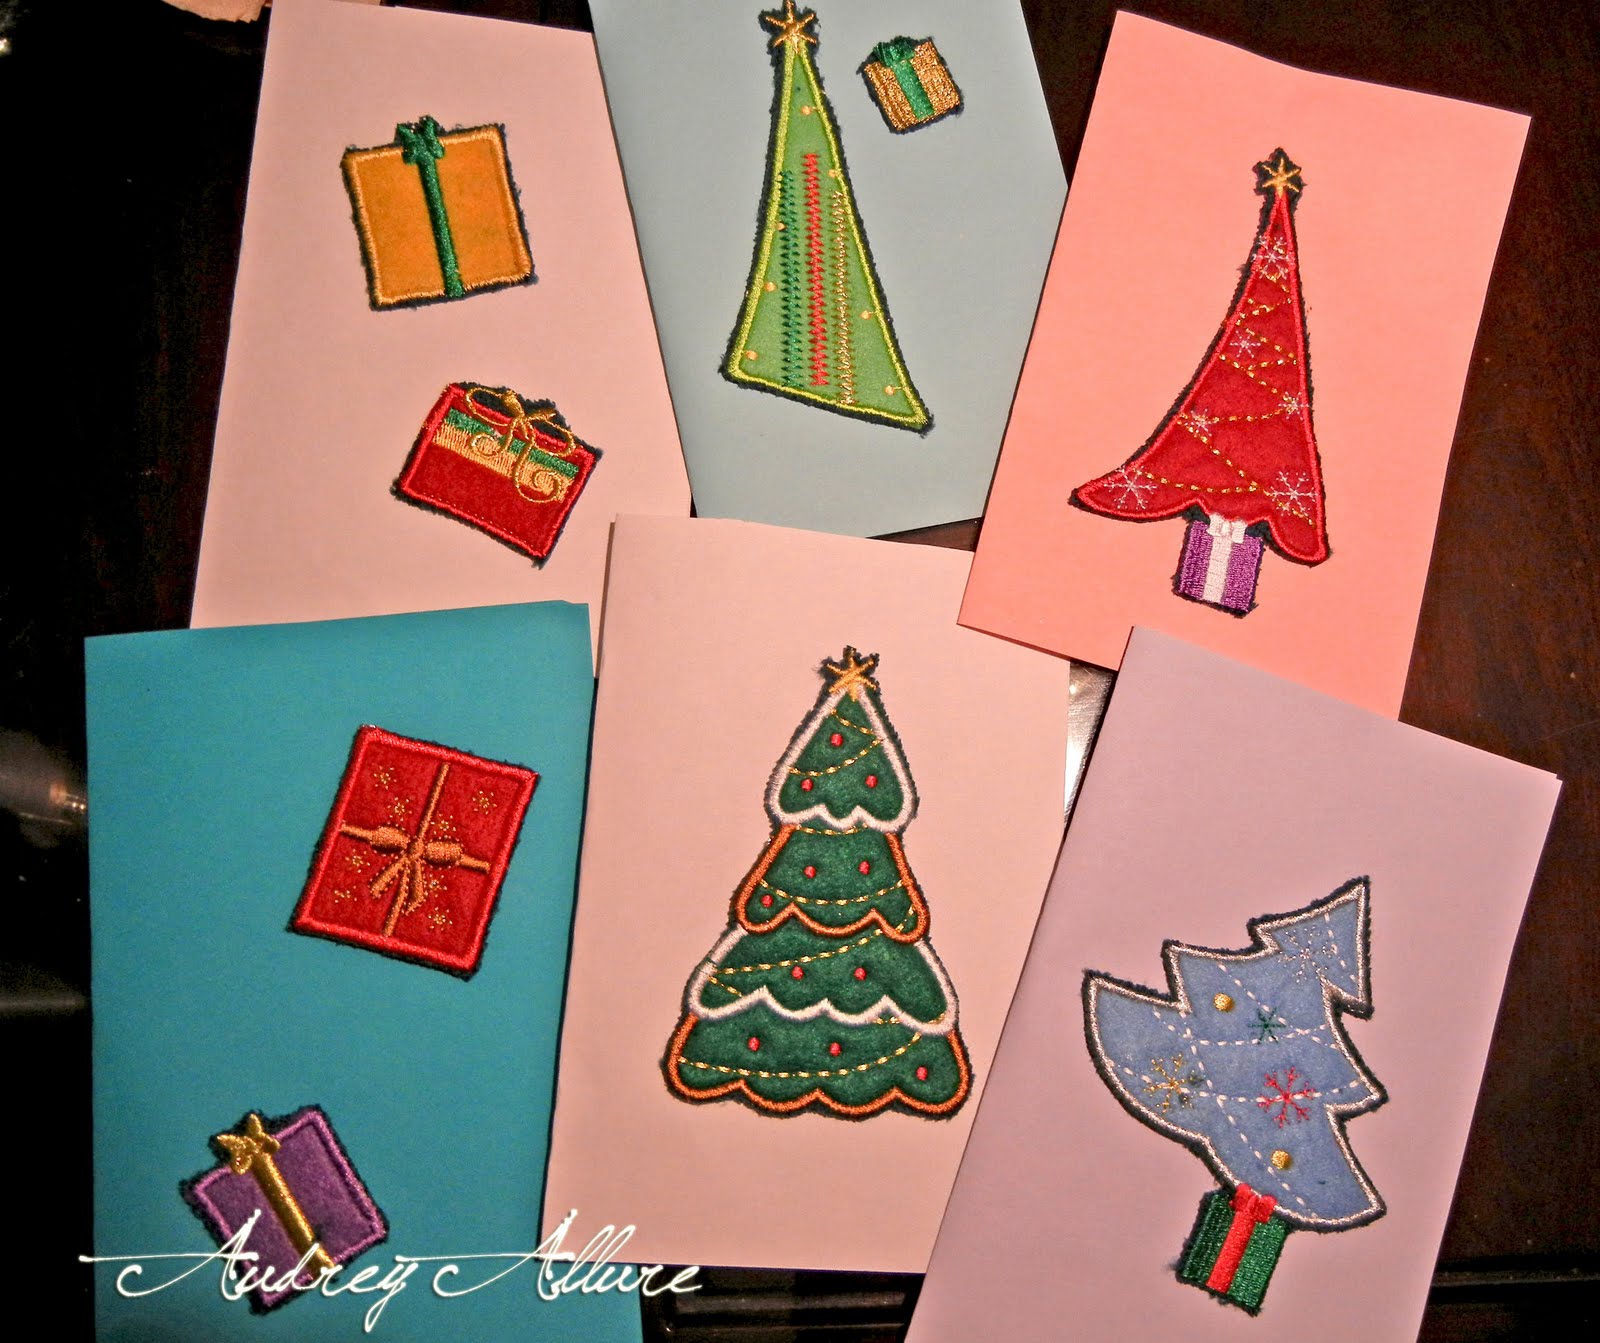
With the decals on the vest, I cut each one out & pasted them onto colored paper and cardstock -- they make great Christmas cards!
Also, since collars are a great accessory right now, I thought I'd attempt my own. With the sweater vest fabric, this would be great for Holiday 2012 with a warmer feel. I measured about 1.5-2 inches of a strip of fabric - the length of it would be measured around your own neck and where you'd want it to connect. I stitched in the edges so the roughness wouldn't show, and since I didn't have any clasps, I used mine with a safety pin & it works just as great!
Using my own ombre string, I decide to use the beads on the Christmas vest & string it together to make a cute bracelet. I'm really liking the look so I might definitely try to extend it into a necklace sometime soon :)
Also, I have another exclusive clip for you from Jane by Design which will premiere on Jan 3 on ABC Family :)

So help me out! Share with me & Jane by Design what some of YOUR own inspired creations are here, and remember to mention Audrey Allure! [If you help me finish the overall challenge (there are 7 in total), I'll be able to pick one of YOU as ABC Family's Trendsetter of the Week!]

The overall Style Challenge is halfway through, and I'm hoping my creations will get me to the next round -- will find out tomorrow! Until then, thanks again for all of your support; I definitely do have the best readers! xo

Follow me on: Bloglovin' | Twitter | Facebook | Tumblr

Saturday, December 17, 2011

ABC Family/JBDStyleChallenge #2 - Style Icon/DIY Shirt

Hi everyone! So from a previous post, you may know that I'm participating in ABC Family/Jane By Design's Style Challenge. To view my first challenge where I posted a shopping haul video, click here. I would also like to thank you all for the support so far - it means so much to me & I really appreciate it :) You guys rock!
The huge trunk of props that ABC Family/JBD sent us included a t-shirt & some fabric markers along with a dress form. The 2nd challenge was to design a t-shirt inspired by your style icon & post an image of the shirt on the dress form. I instantly knew I wanted it based on Olivia Palermo -- I absolutely adore her chic, classy style. She always manages to look polished & beautiful.

As you can tell, one of my favorite colors is blue/teal, and I was really inspired by the first look pictured here in this post - of Olivia in a floral dress from Zara. I figured some of my competitors might decide to alter the t-shirt in some way, but I wanted to keep it a simple t-shirt. After all, a white t-shirt is such a versatile piece & a key item in a wardrobe - which Olivia has proved how to make a simple white tee look so fabulous. She also has an amazing eye for accessories, and I found this beautiful brooch in my jewelry box (which used to belong to my mother) that has gemstones in similar colors of the floral dress. I wanted to make my tee to reflect this piece as well as keep it simple, girly & classy like Olivia.
To view an exclusive clip from the show, which will premiere Jan 3 at 9PM/8PM C, click here! It shows Jane transforming her mom's old gown into a fun winter formal dress.

I used water color paints, fabric markers, fabric glitter, and blue studs (which were leftover from my Visual Merchandising class 3 years ago - I knew I would need these items someday! haha). Instead of going for a literal floral print, I went for a more subtle/abstract look. I used shades of blue with the fabric markers and created a base floral background. I then used some water color paints of blue & green and swirled around with my paint brush. Later on, I swept water across it so the colors could blend & bleed together. I was also going for that look where the piece seems like it has been dipped in paint, which technically it was. :)

At the hem of the t-shirt, I colored it in a dark blue and also lined with silver fabric glitter. I then cinched the side of the shirt to enhance the waist. I just simply bunched up the fabric & sewed through as if a pin was holding it. On top, I glued two blue studs to make it look more appealing & hide the yarn. I finished it off by pinning the brooch.

close-up on the abstract floral/water color print I made:
I made it so that it's a great piece to stand alone but can work great with jackets & blazers - like I paired it below with my brown leather jacket & a striped black blazer. We know that Olivia can definitely rock a blazer!
[image source]

So who are your style icons? Share with me & Jane by Design by posting it onto the JBD wall & mention that I sent you over there! ;) [It would really help me out so much if you do! & thanks so much in advance!]

Follow me on: Bloglovin' | Twitter | Facebook | Tumblr